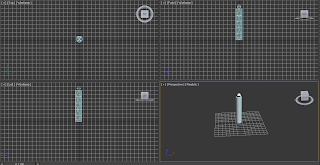
To do this you first have to create a bone structure within your mesh to do this you select the systems option from the create tab.
Then press the bones button to select the tool. The next step is very important it is almost impossible to create bones in the perspective view so its best to have your workspace setup with the top left and right views all set to wireframe, then you add your bones in these sections.
When working with the bones it can be helpful to press alt-x this makes the mesh transparent.
To apply your new bone structure to your skin you need to apply the skin modifier to your mesh to do this you simply have to select it in the usual way.
Once applied you now have to click on the add button to progress with attaching your mesh to the bones.
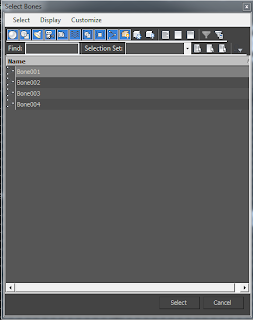
Below is the window that is loaded when you press the add button. Here you will see the names of each of your bones ready to be selected.
Now the user has to select all the bones they have created and then press the select button at the bottom of the window.
Now all the bones are attached to the mesh and it can be moved with them.
Below is a short animation I made using the simple bone structure created in 3Dmax.


No comments:
Post a Comment