To begin applying materials to your objects you first have to open the materials editor this can be done by selecting it from the tool bar or pressing the M key.

Then from the menu at the top select modes and then the compact editor mode.
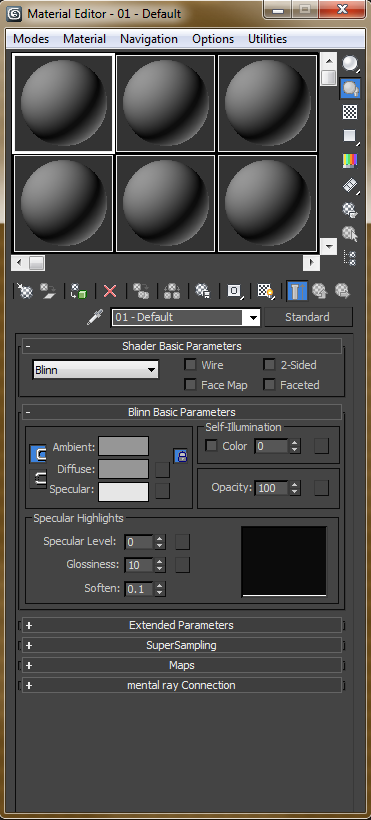
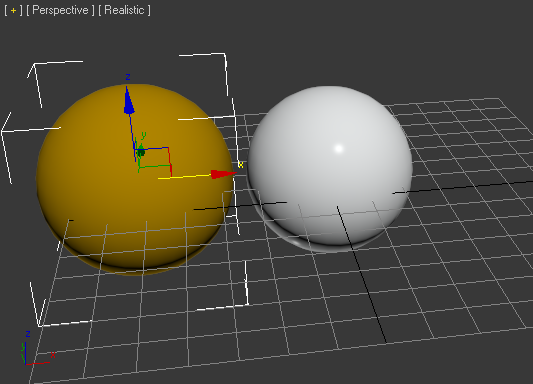
To make my metal object I drew a sphere and then applied the metal shader to help with the metal effect and then adjusted the specular and glossiness variables to give it a nice metallic shine.


To create the wood texture I made a sphere and then made it brown. I wanted to use the proper wood effect on the sphere but I was having problems applying it to the object.
To make it react a bit more like wood I reduced the specular and glossiness levels down because if wood is not varnished it does not reflect much light.


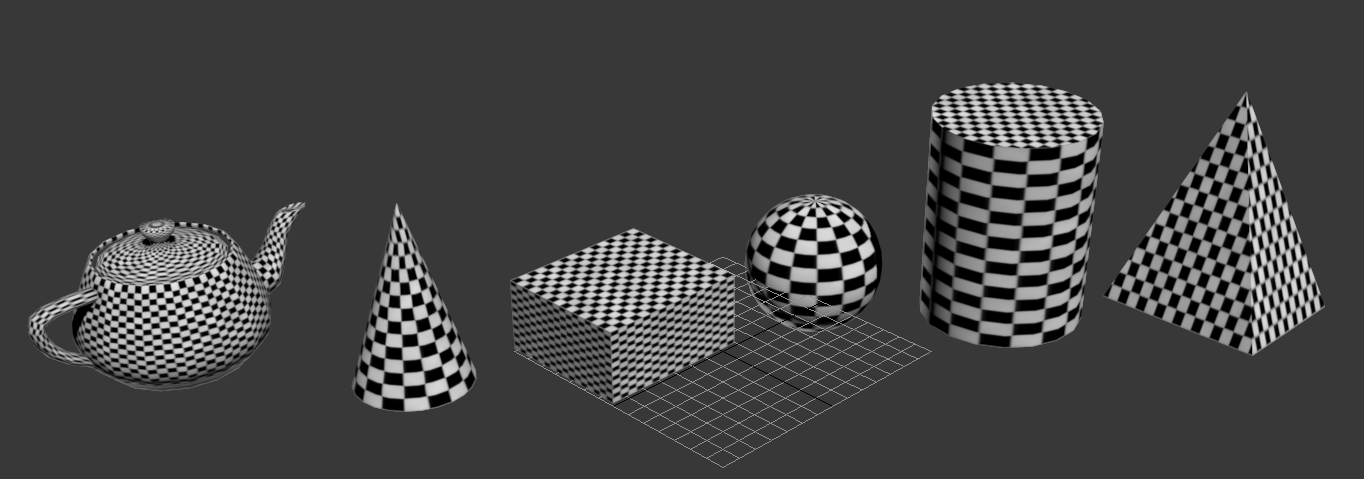
The next step was to begin applying the floor texture to different objects. It was at this point that I realised what I had been doing wrong when I wanted to apply my wood texture. Rather than just selecting the texture through the top tool bar beneath the sample images I should have added it with the specular button.
You can see in the image below that in the top right hand corner example on the materials editor the texture is flat but on the one next to it the texture is wrapped around the sample.

I then proceeded to add textures to all the different shapes requested on the work sheet. It fitted some better than others because such a geometric pattern doesn't work well with something that has an organic shape like the teapot.
Now I had released and understood what I was doing wrong when I wanted to apply a more realistic wood effect to my sphere in the first task i went back and re did with the material I wanted.

The next step was to add some different materials to planes, After doing this it was clear to see that some of these may be very useful in my final project.

Below are examples of the following procedural maps
CELLULAR
DENT
MARBLE
NOISE
PERLIN MARBLE
SMOKE
SPLAT
WAVES
I also did an extra plane with vector colour because I was interested in how it would look.

No comments:
Post a Comment